Your Project Pipeline folders can be found across the top of the screen.
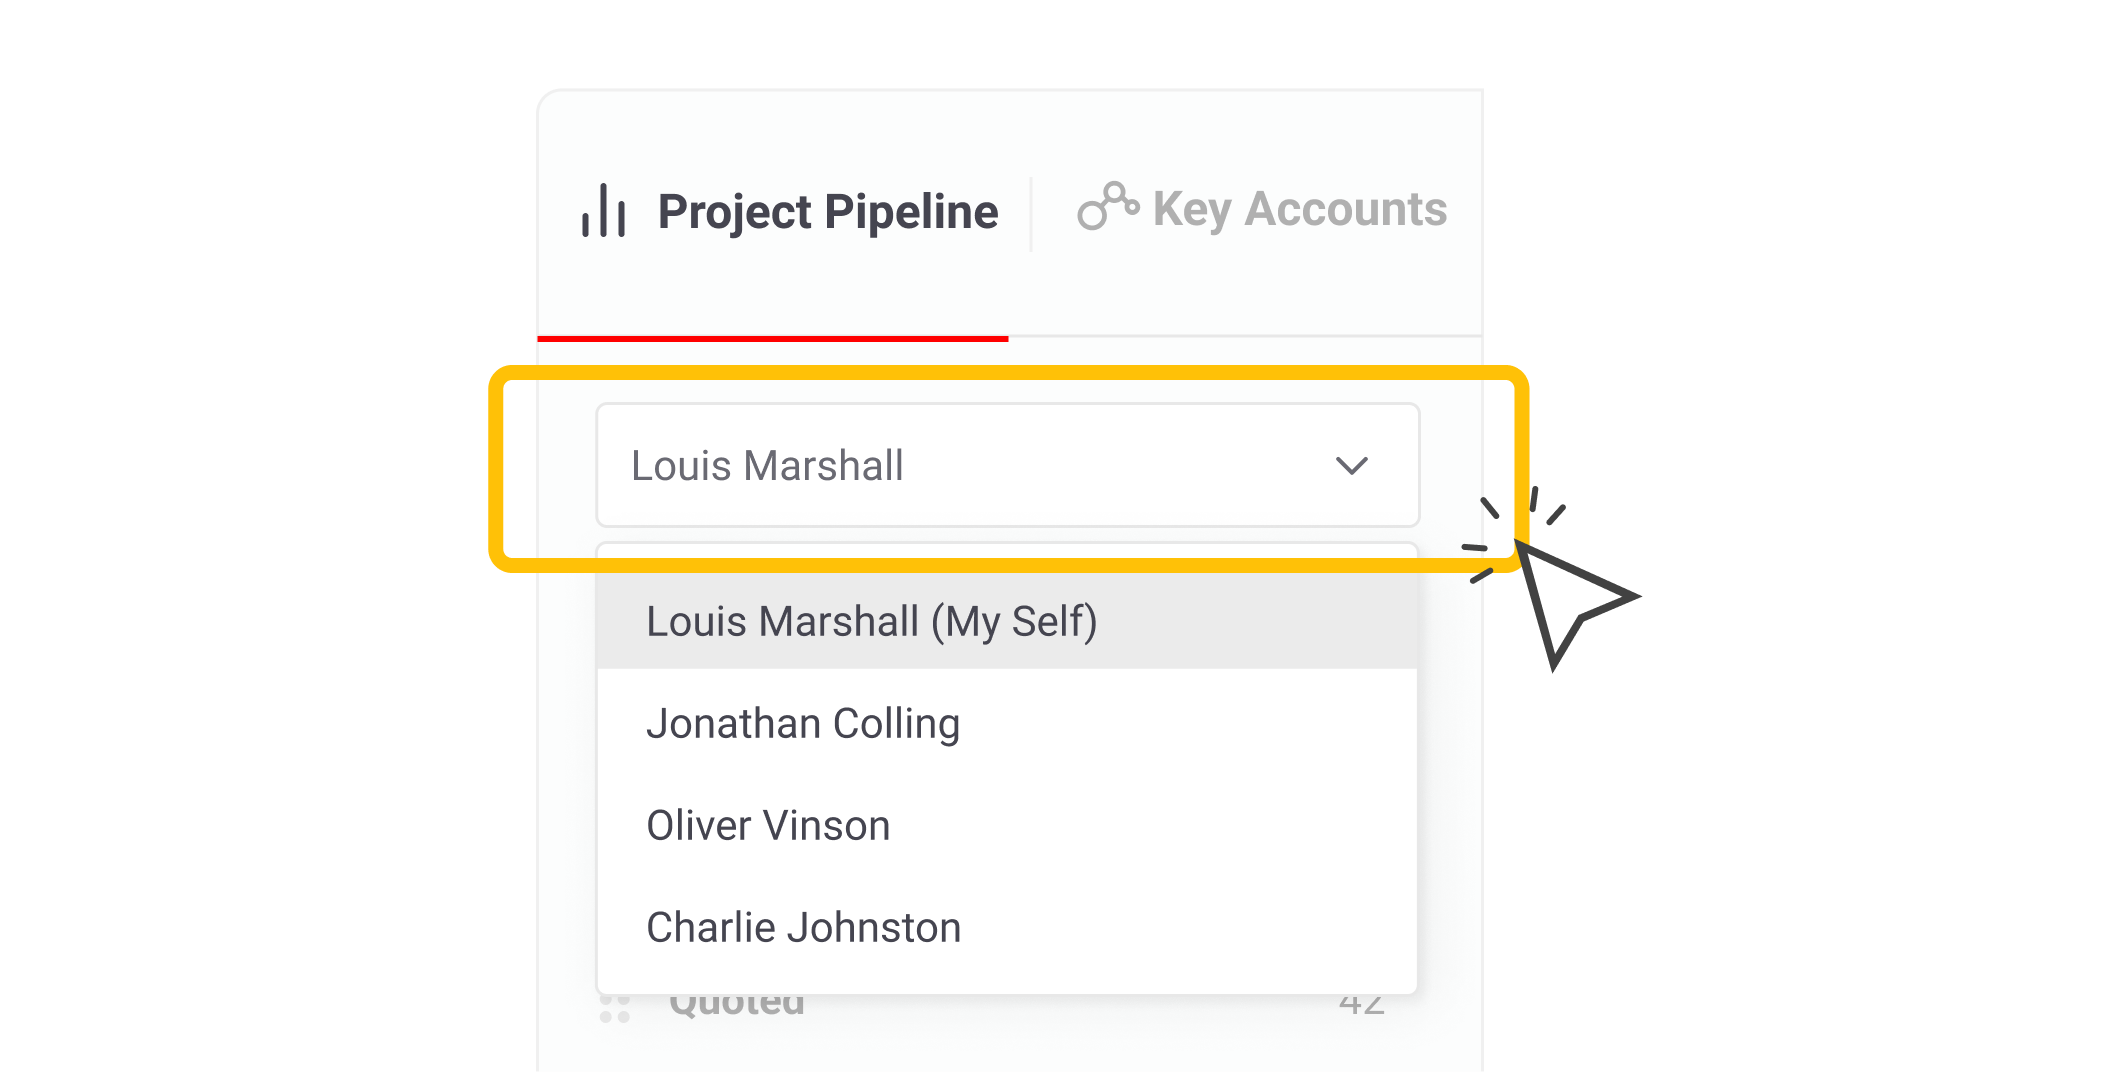
By default, the Pipeline opens on Main Folders. You can change to My Folders by clicking the dropdown list next to the user's name.
To view all of the projects in your Pipeline in one screen, click All on the left-hand side.
To add, rearrange, rename or remove folders, select Settings next to the All option.
Please note, only Admin users can edit the Main Folders.
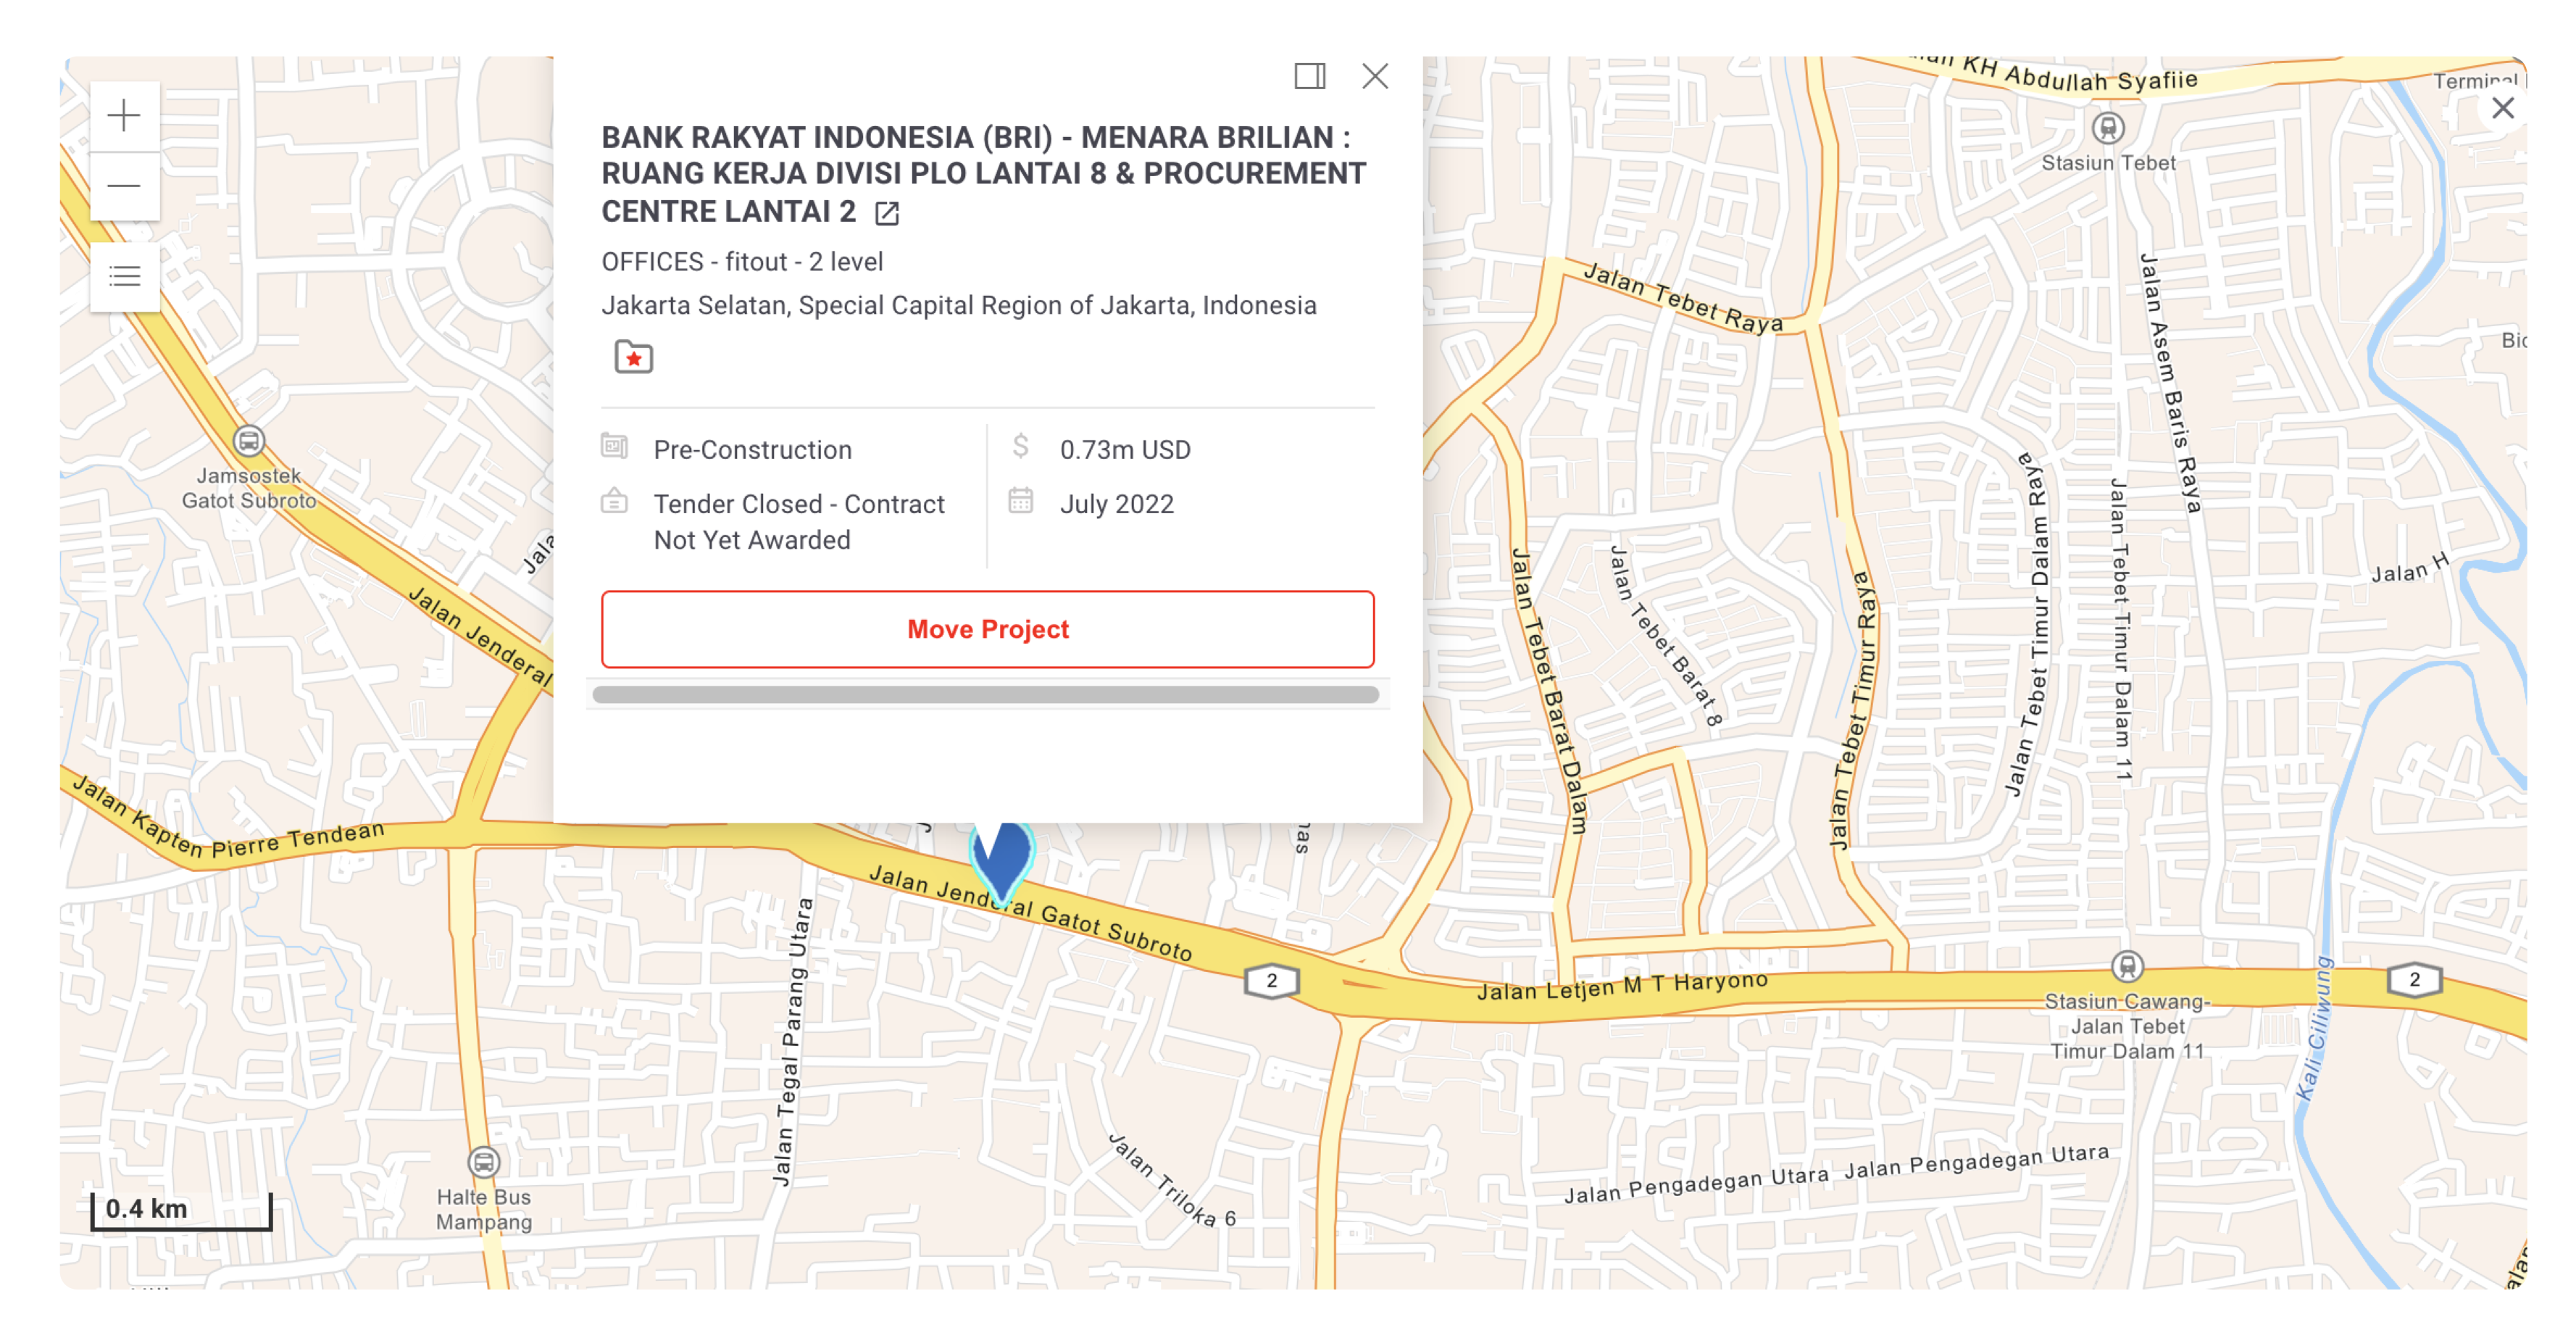
View your Pipeline in Map View by clicking the Map icon above the row of folders. This will show the projects in the current folder on the map.
Move a project to a different folder by clicking on the dropdown in the Folder column, next to the project’s name.
View, add or edit Opportunity Details, Tasks and Notes by clicking on the icons in the Folder column, next to the project’s name.
Select multiple projects by clicking the checkbox to the left of the project's name. Choose which action you would like to perform to these projects by clicking the three dots in the top-right corner.
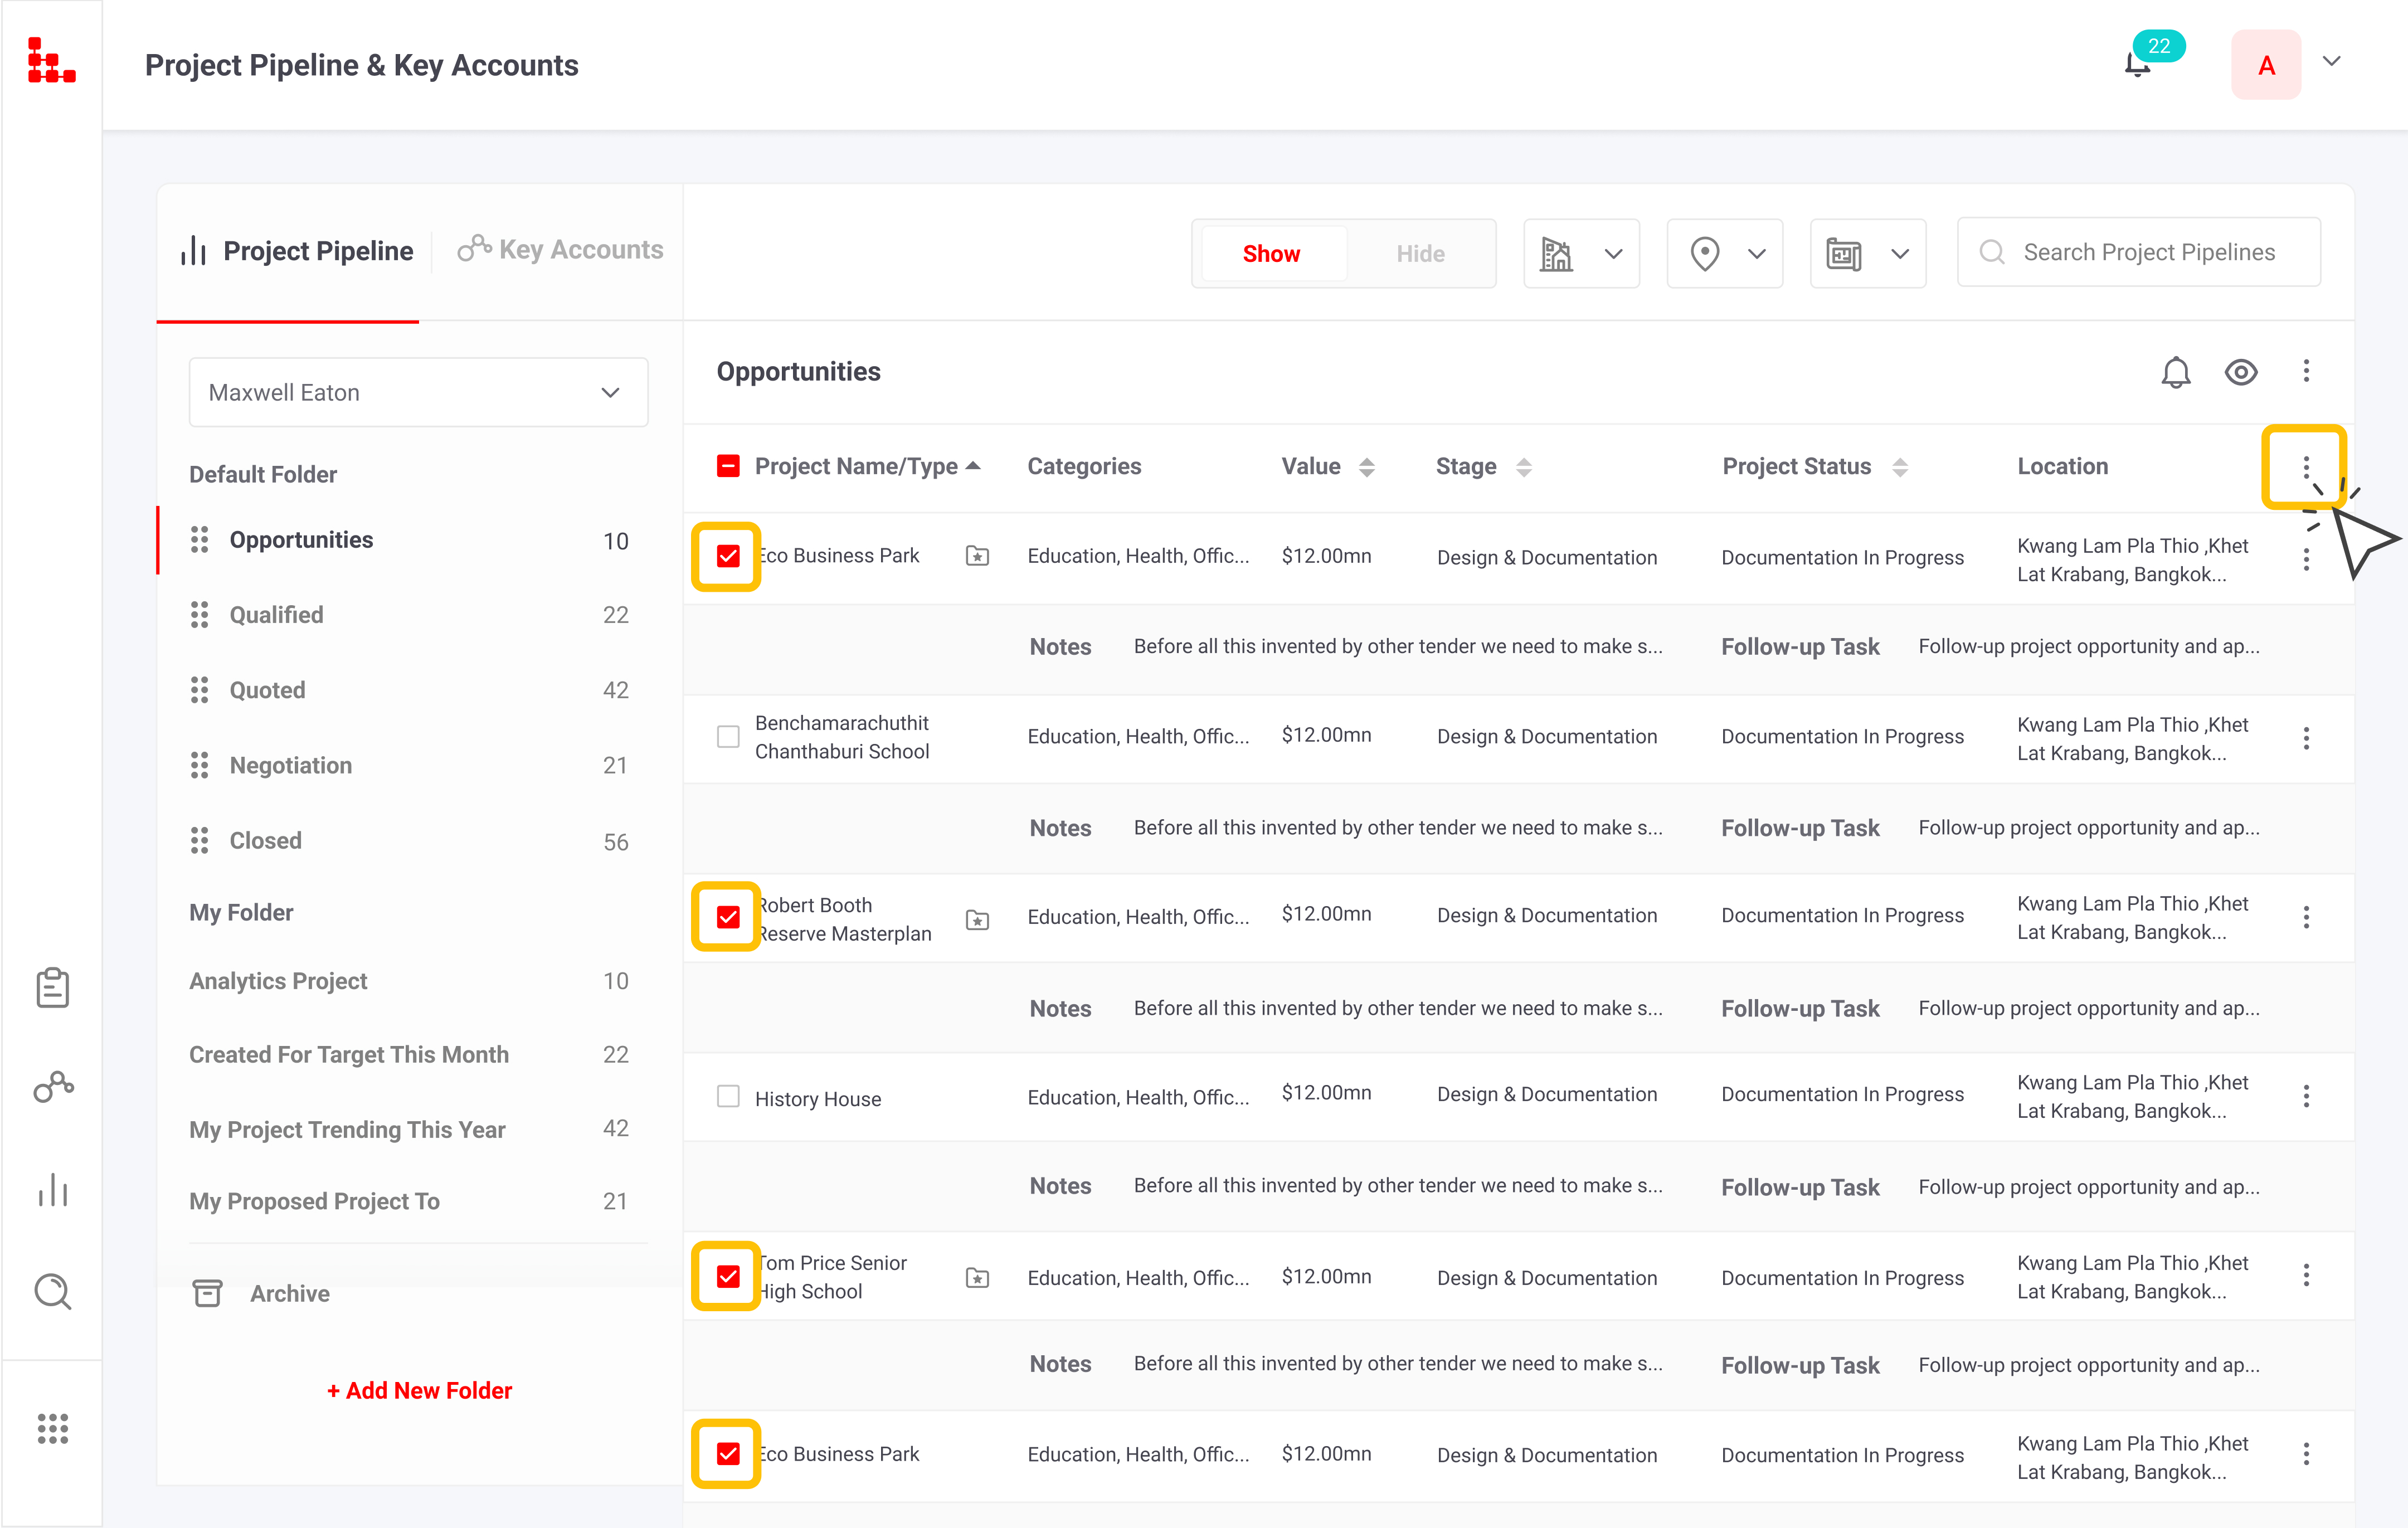
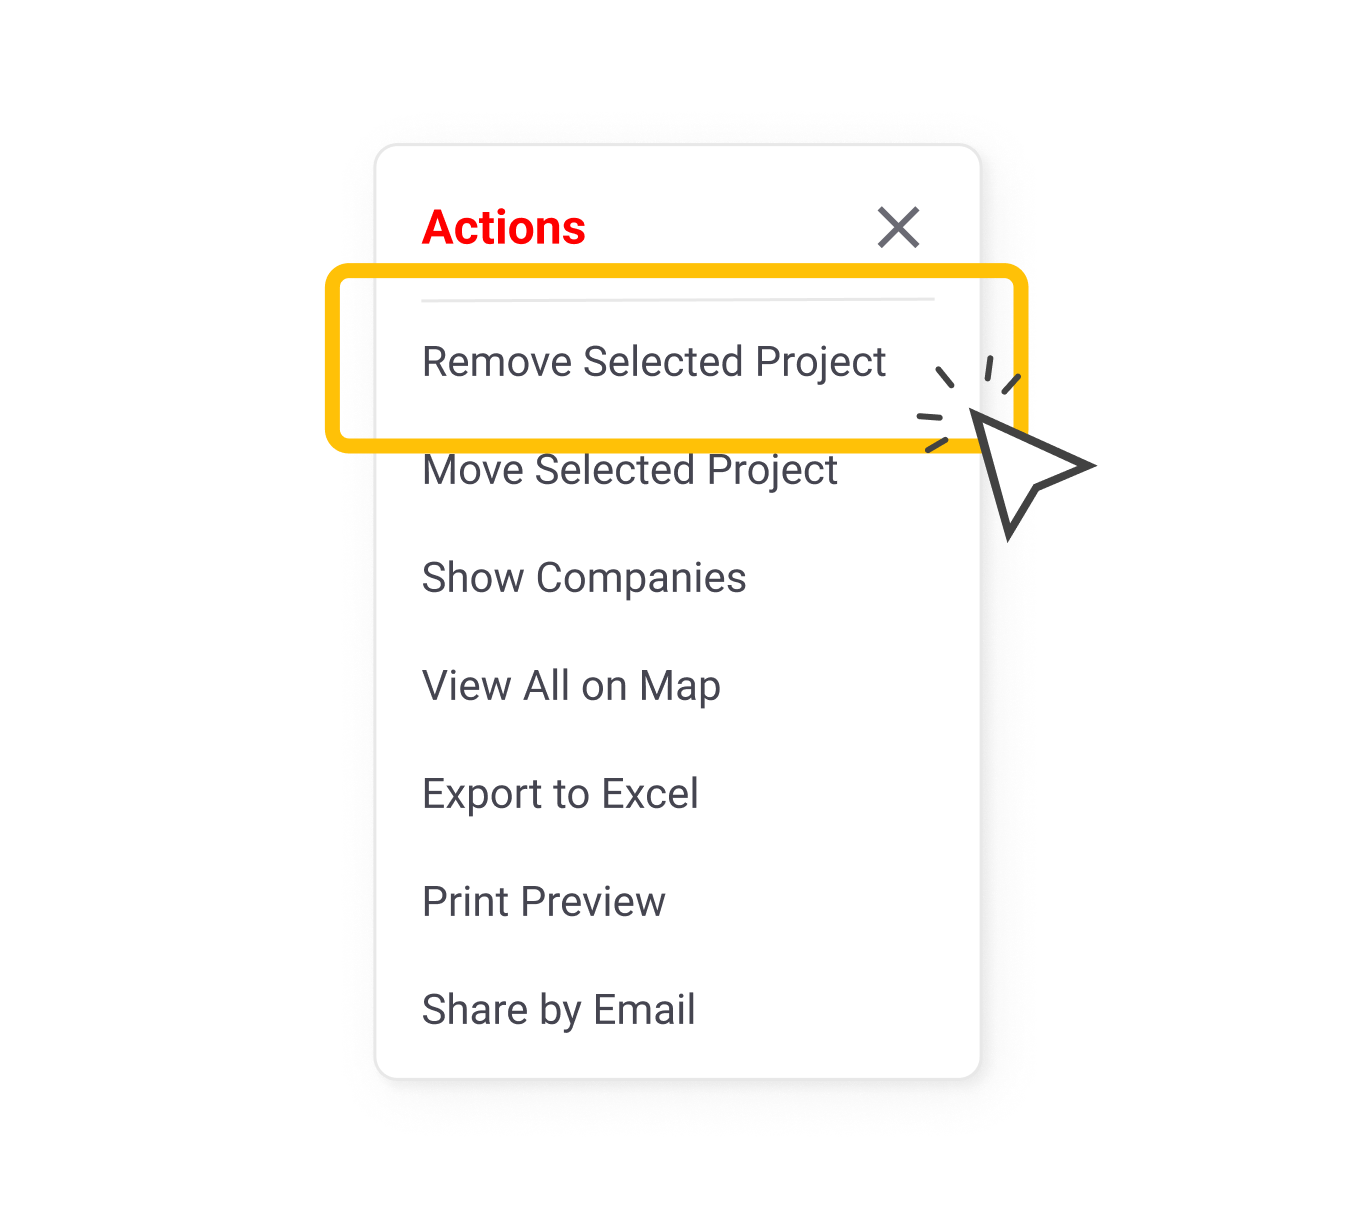
If you want to remove the selected projects from your Project Pipeline, select Remove Selected Project from the Actions menu.
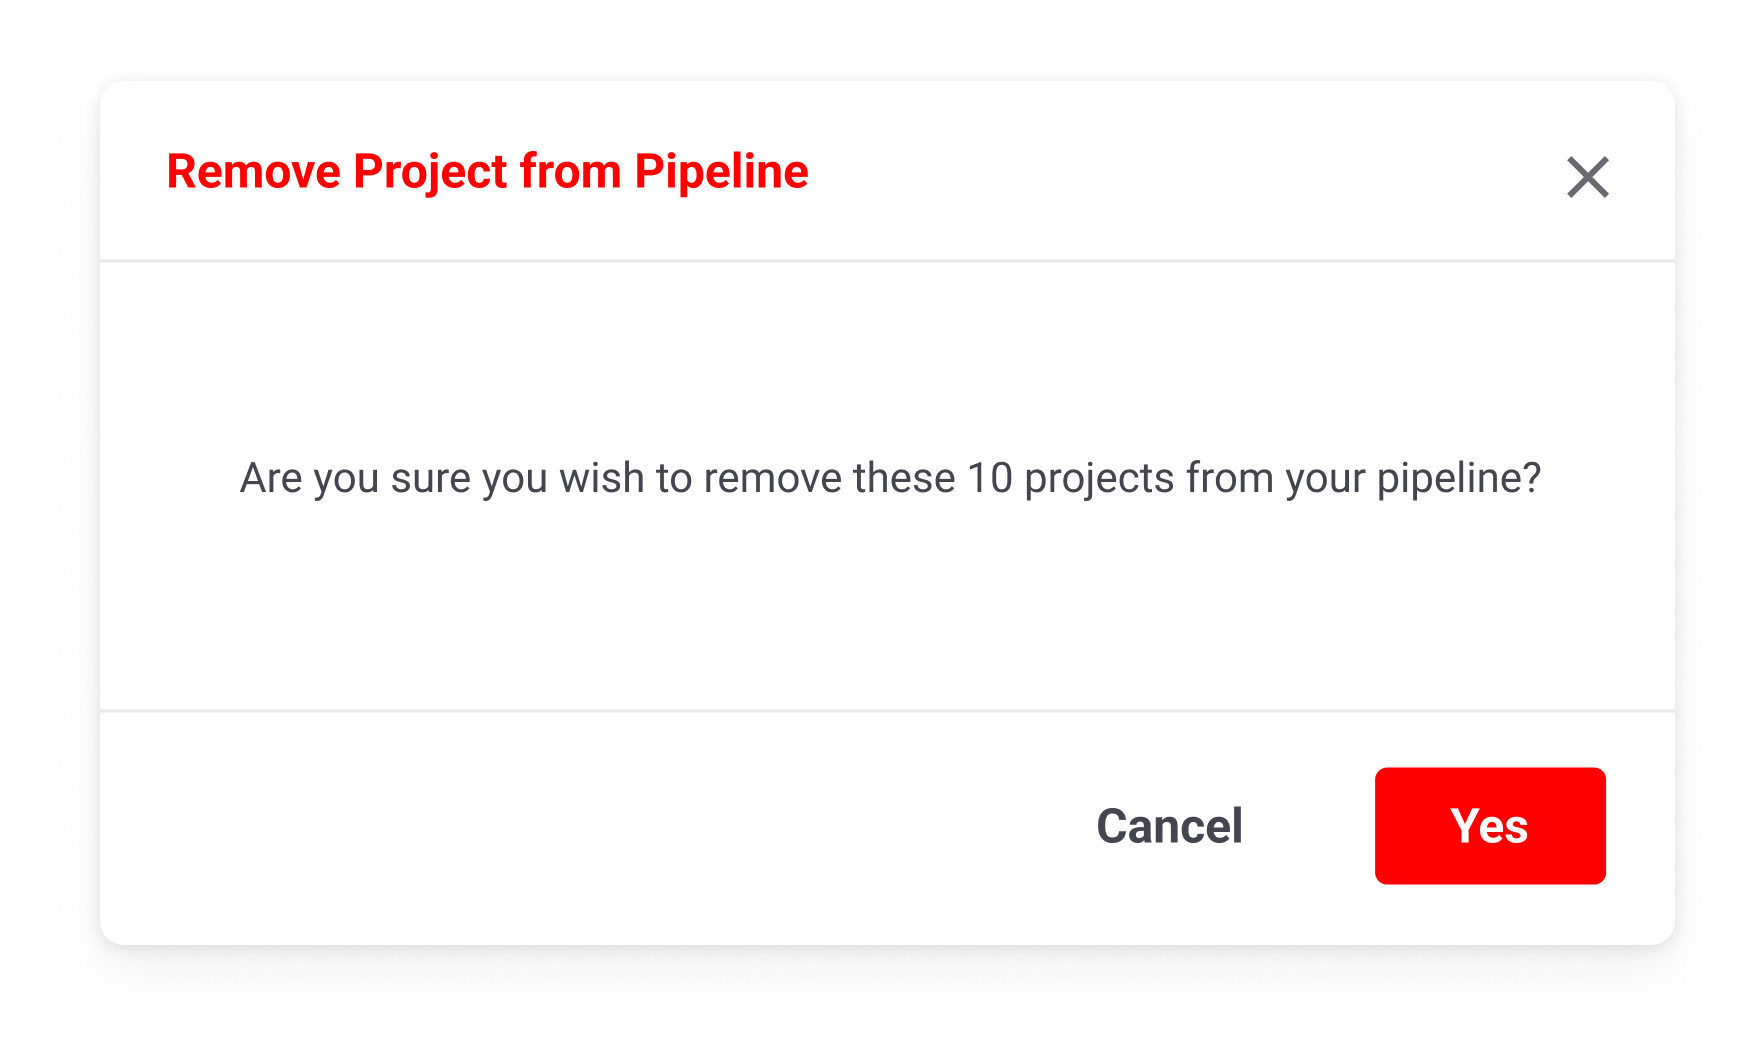
Click Yes to remove the selected projects.
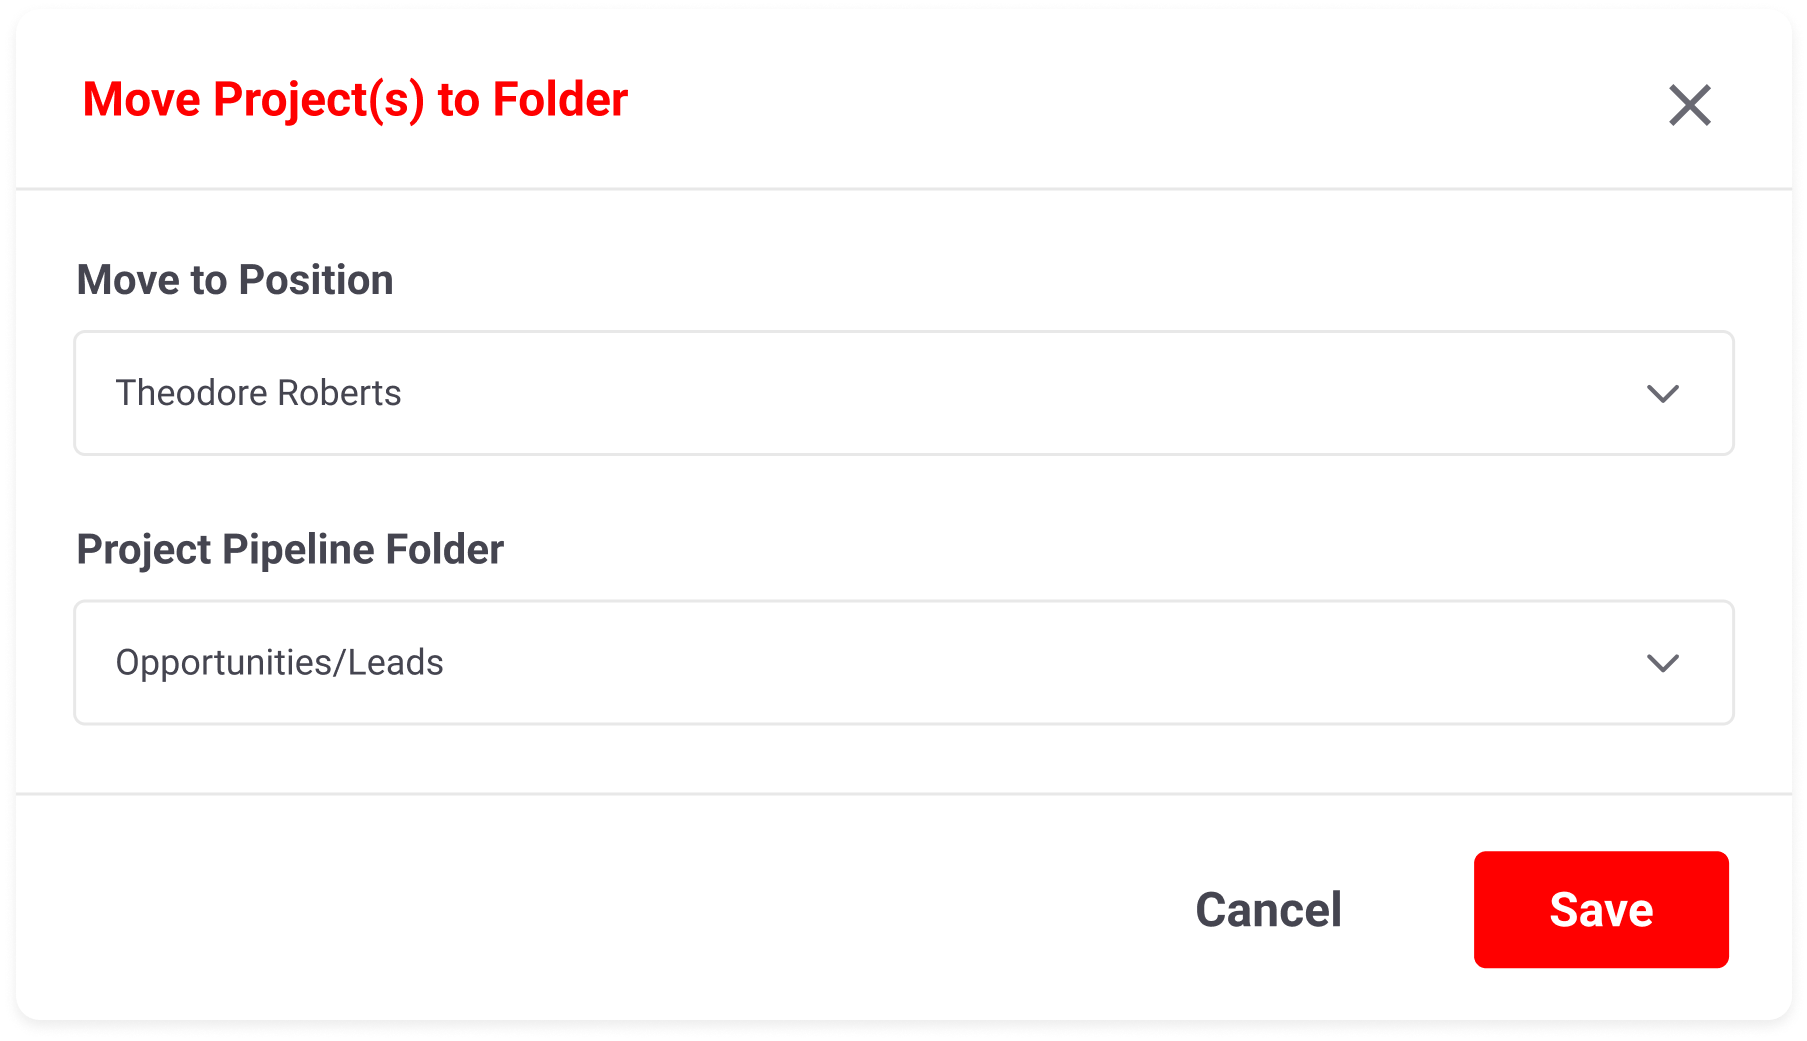
If you want to move the selected projects to a different folder, you can click Move Selected Project. Select the team member's name and the destination folder from the dropdown lists.
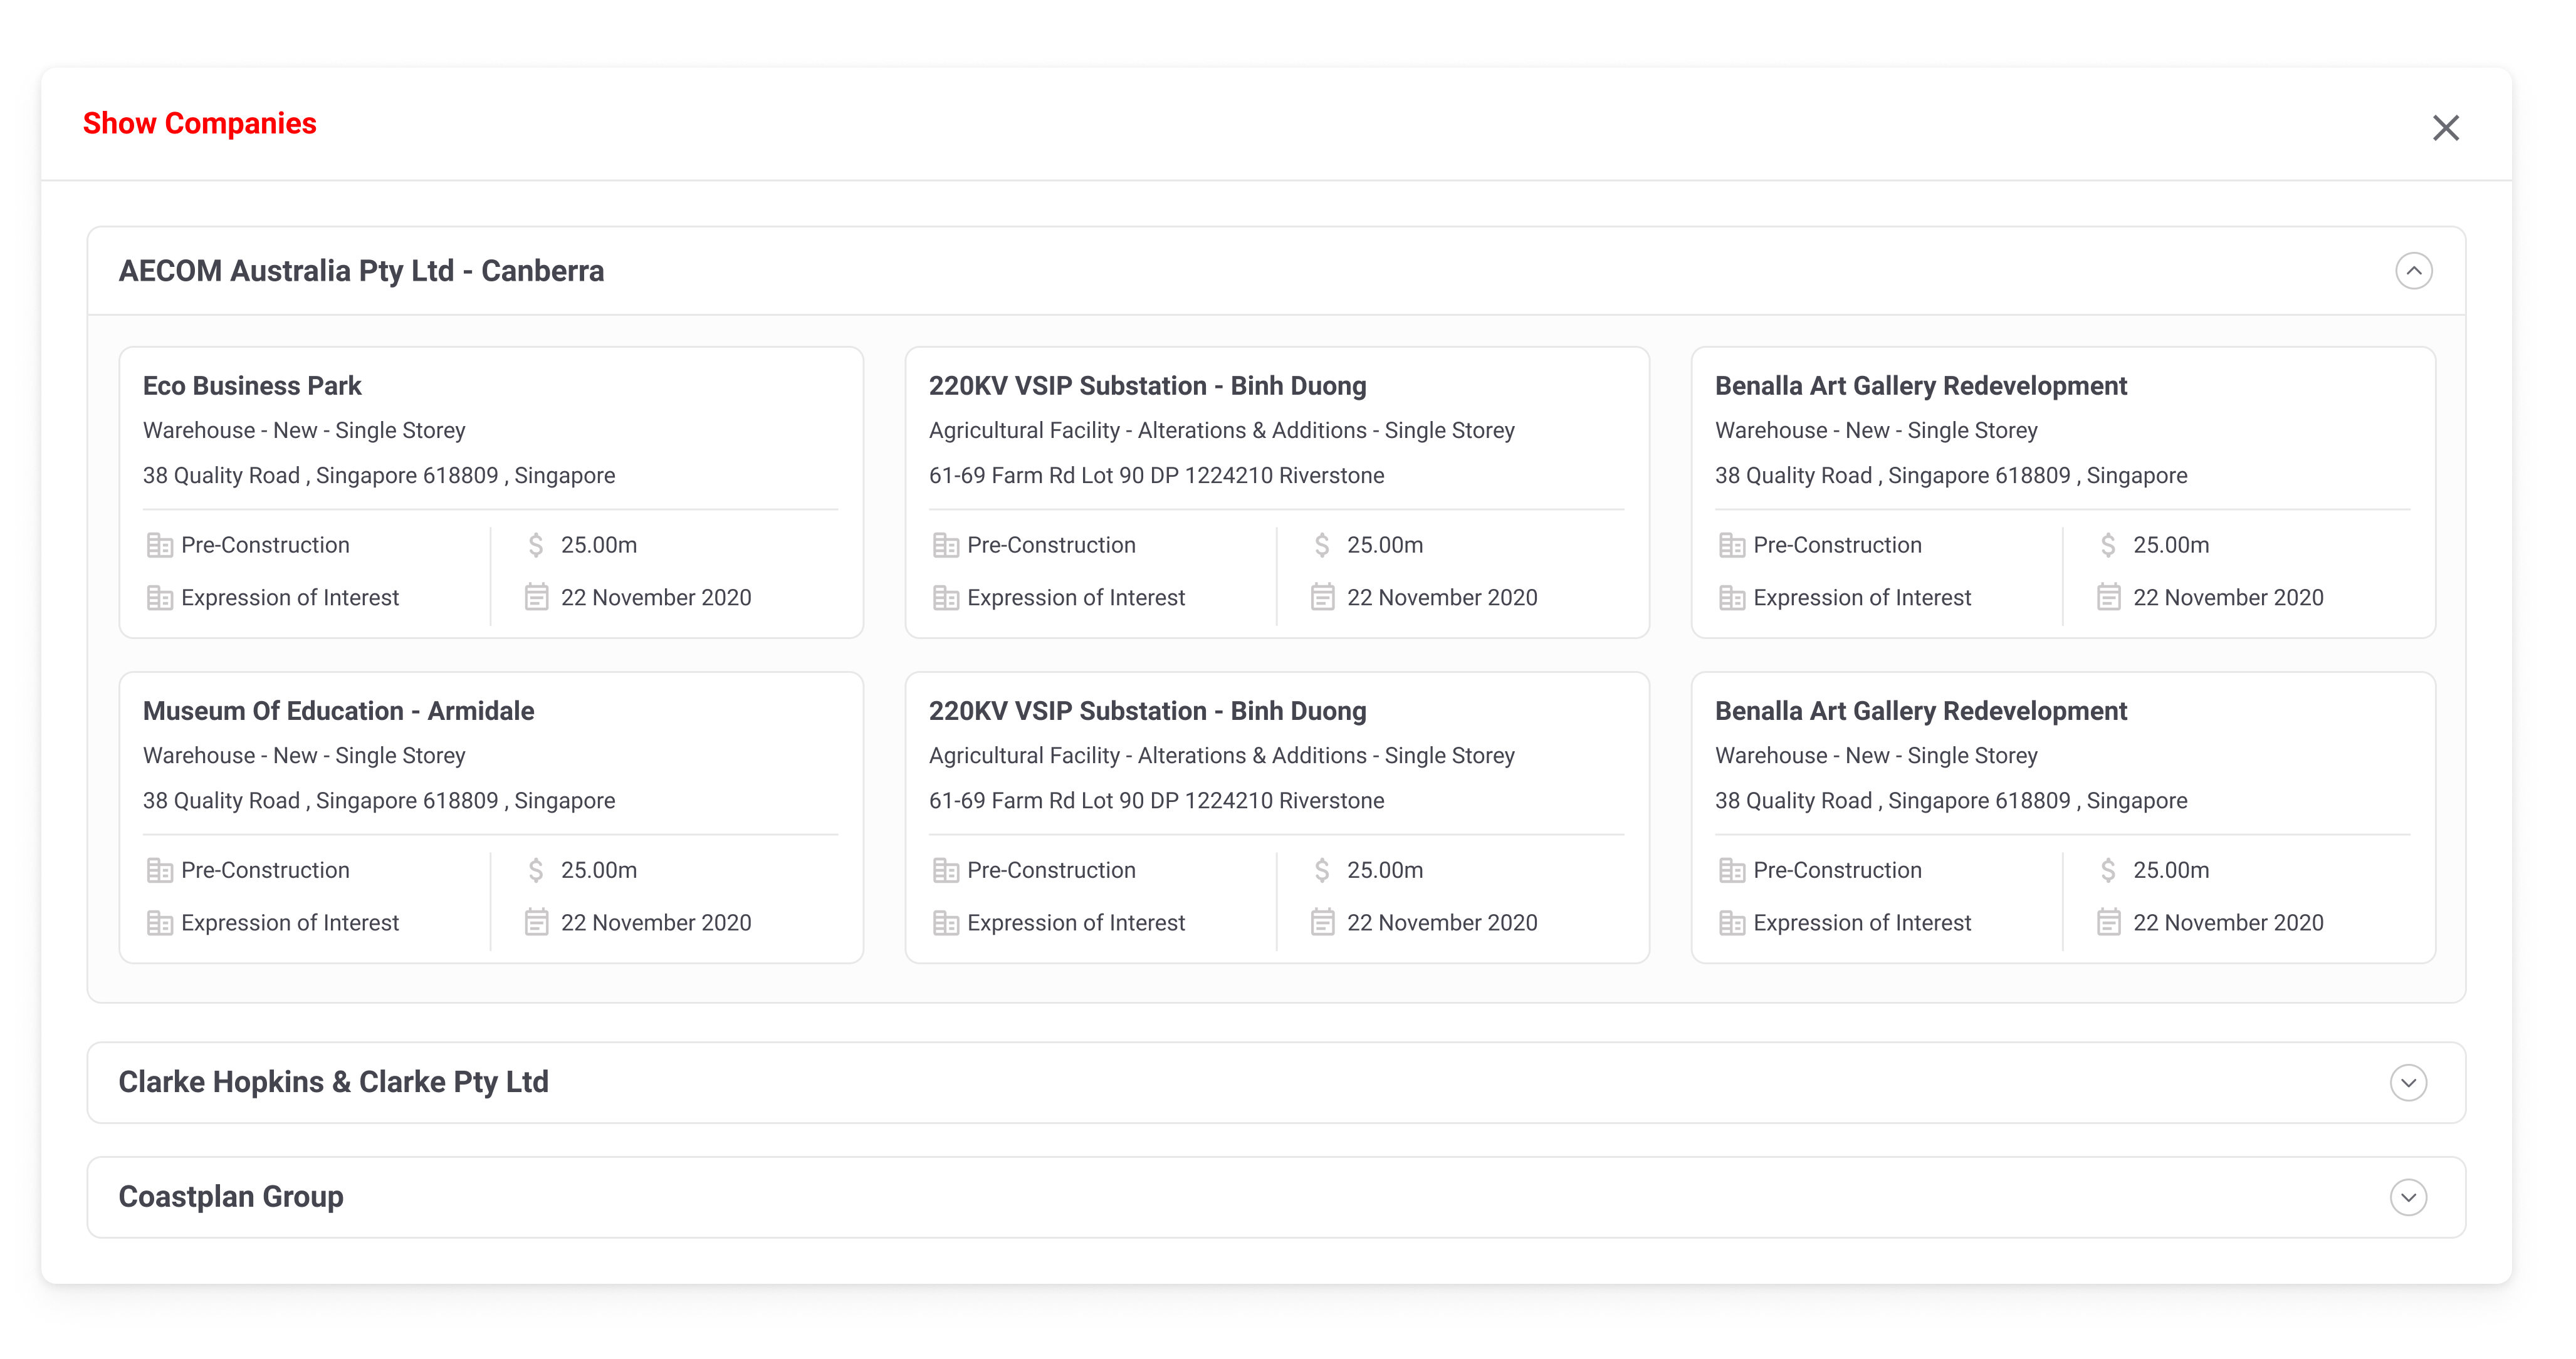
To see a list of the companies involved in the project, click Show Companies.
If you want to see the selected projects' locations, click View all on Map.
View a team member's Project Pipeline by selecting their name from the drop-down menu in the top left-hand corner.
